Step 1: Prepare Your Sketch
Finalize the Sketch
Make sure your sketch is clean and clear, with well-defined lines and few smudges.
Remove all unwanted marks to minimize effort while digitizing
Scan or Photograph the Sketch
Scan: Scan your sketch at a high resolution that is not less than 300 dpi
Photograph: Use a camera or a smartphone. Ensure good lighting, shadows should be low, and the angle is perpendicular
Step 2: Import the Sketch
Select Your Software
Popular software: Adobe Photoshop, Illustrator, Procreate, GIMP, or Krita.
Use vector graphics software such as Adobe Illustrator for vector designs or raster graphics software such as Adobe Photoshop for pixelated designs.
Import the File
Open your scanned or photographed sketch in your favorite software.
Tweak the brightness and contrast so that the lines are more apparent.
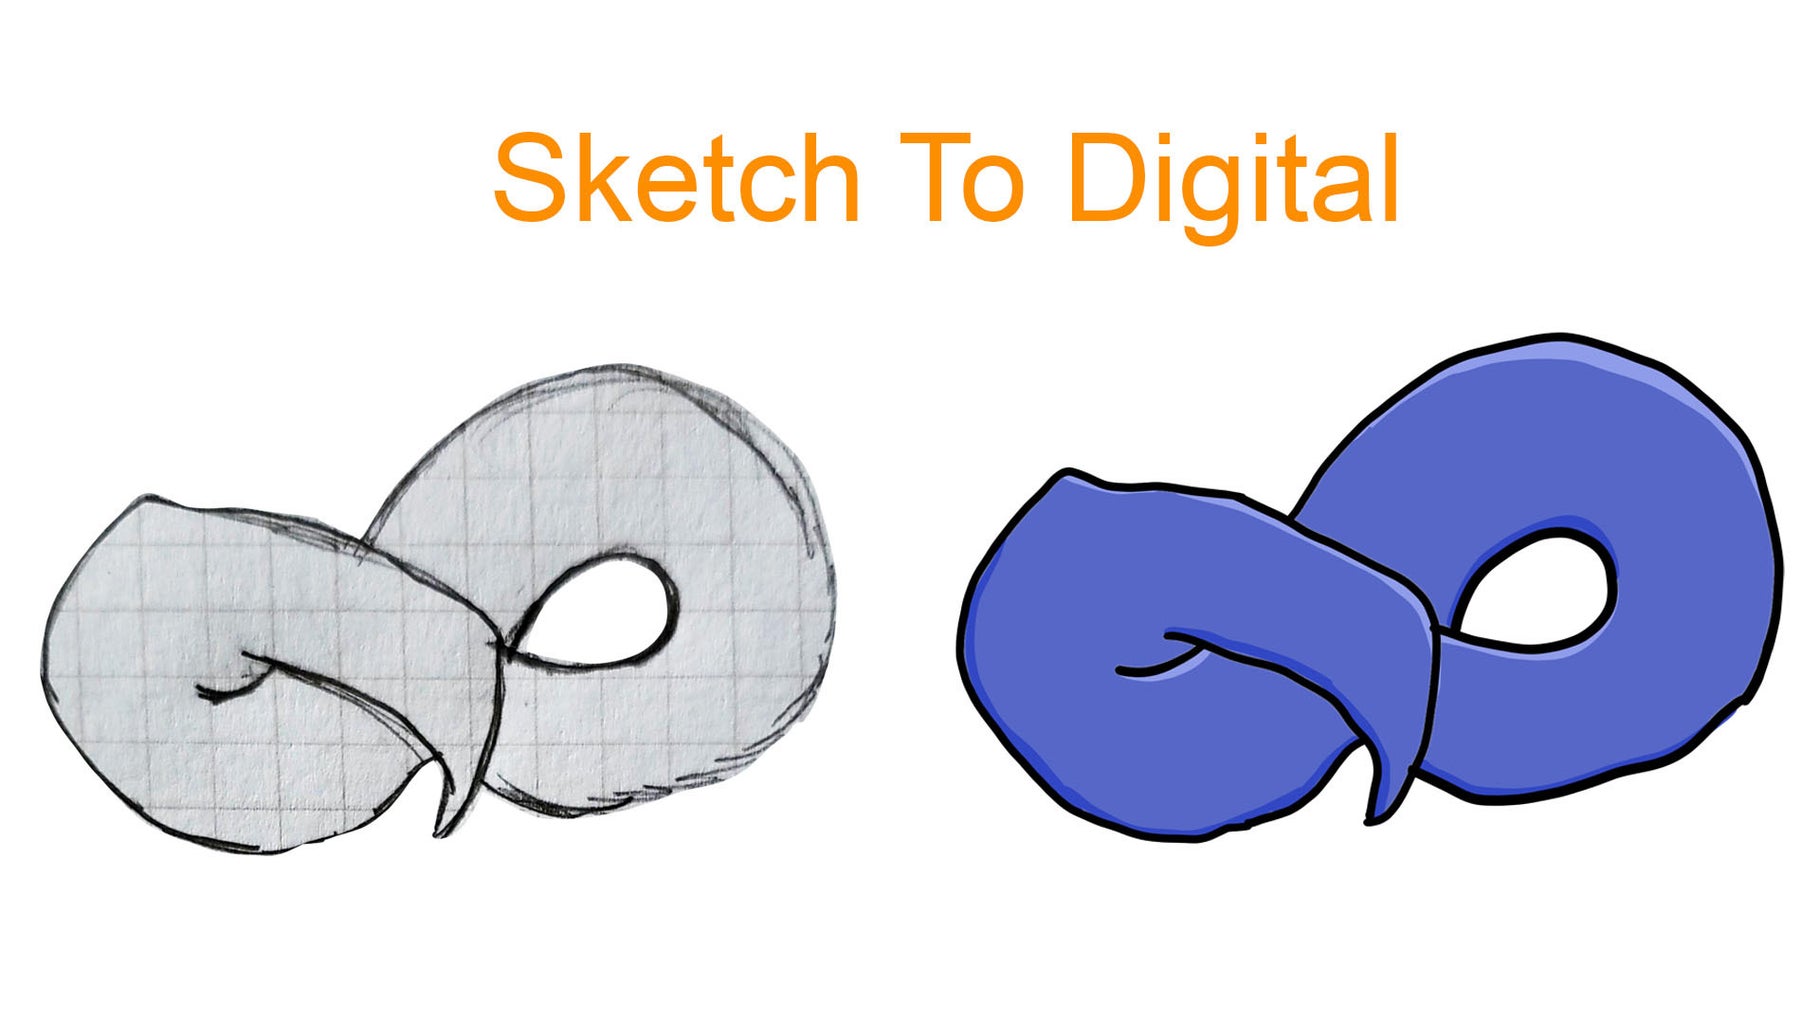
Step 3: Digitize the Sketch
Option 1: Trace the Sketch
Use a drawing tablet or pen tool to manually trace over your sketch. This method gives control over line quality and thickness.
In vector tools, use the "Pen" tool to create smooth, scalable paths.
Option 2: Use Auto-Trace Tools
Tools like Adobe Illustrator's Image Trace or Inkscape's Trace Bitmap can automatically convert your sketch into vector lines.
Adjust settings for line thickness, smoothness, and detail retention.
Step 4: Refine the Design
Clean Up Lines
Reshape uneven lines and fill gaps or overlaps using your software's tools - eraser, path smoothing, etc.
Add Layers
Divide elements: background, objects, text, etc.- for easier organization and flexibility.
Define Colors
Apply colors by using the Paint Bucket tool, gradient fills, or personal palettes. Ensure that layers for color and line art are separate to easily modify.
Step 5: Add Details
Textures and Effects
Textures, shading, and highlights give depth and realism.
Typography
Add text, if necessary, keeping it within the scope of the design's intention.
Final Tinkering
Filters, Blend Modes, Opacity
Step 6: Save and Export
File Types
Save the master file (PSD, AI) for later adjustments
Export as appropriate for usage:
JPEG, PNG: web, social media
SVG, EPS: scalable graphics, print ready
PDF: multi-page document or high resolution print
Resolution
72 dpi for web work
300 dpi or higher for print
Bonus Tips to Succeed
Invest in a Drawing Tablet: Wacom or iPads with Apple Pencil offer precision and natural drawing feel.
Use Brushes and Tools: Try digital brushes that mimic pencils, markers, or paint.
Practice Layering: Keep elements on separate layers for non-destructive editing.
Learn Keyboard Shortcuts: Familiarize yourself with shortcuts for efficiency.


No comments:
Post a Comment